

Updated 2/2/18: Nothing says Superbowl like Huli Huli Wings!!
Tonya and I decided to forego our wedding anniversary trip to Hawaii this year and instead spent the weekend working the concession stand at our daughter Emma’s school, taxiing eight high-schoolers from a dance to late night bowling and watching a middle school performance of The Wizard of Oz. Hawaii could come to our kitchen, by golly!
One of the highlights of the weekend was doing what we like to do the most, spending 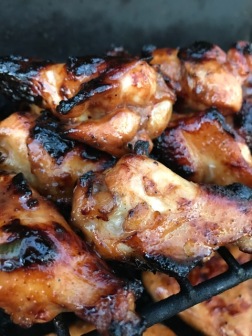 Saturday night together working on a recipe. Inspired by an recent episode of Diners, Drive-ins and Dives, we channeled our inner “Polynesian”, threw on our hula skirt and coconut shell bras and put our spin on a batch of Huli huli marinade for some chicken wings!
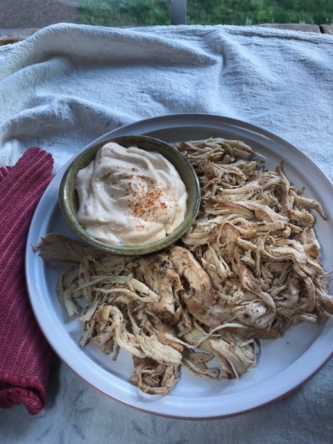
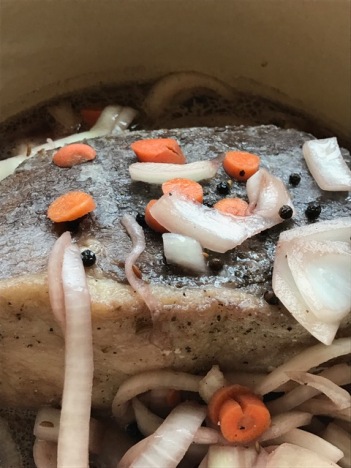
Huli huli chicken is a common and favorite Hawaiian dish that is generally found at roadside stands or food trucks along highways on the islands. Huli huli chicken was originally created and trademarked by Ernest Morgado in 1955 as he developed his version of teriyaki chicken. Huli means “turn” in Hawaiian. Ernest created a “rotisserie” using two mesh grates to turn large amounts of chicken at one time while liberally basting the chicken with the marinade. His original recipe remains a secret but many variations are used today.
 While the recipes differ on some levels the primary ingredients include ginger root, pineapple juice, ketchup, sherry or chicken broth, soy sauce and brown sugar. As long as these staples are included the Huli huli marinade remains intact. The key is that this is a marinade so the measurements or amounts don’t have to be exact and can include garlic, Sriracha, rice vinegar, dry mustard or lemon juice.
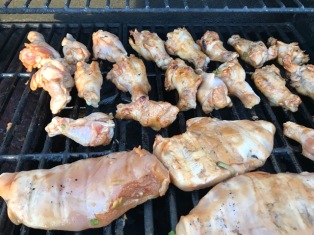
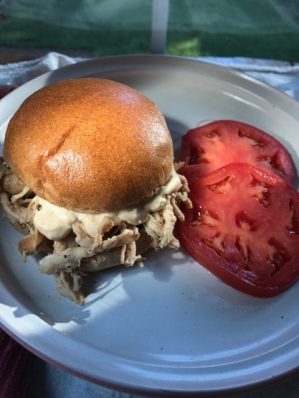
Huli huli chicken is frequently skin-on chicken pieces grilled and served with sticky white rice. We decided we didn’t enjoy enough wings last weekend at the big football game party so used the Huli huli marinade on chicken wings and substituted the sticky white rice with brown rice topped with sauteed zucchini and onions. Huli huli would be fantastic on chicken thighs, too!
Huli huli chicken wings
20-25 assorted chicken drumettes and wings or 4-5 chicken pieces
marinade
1/3 cup ketchup
1/3 cup soy sauce
1/4 cup brown sugar
1 cup unsweetened pineapple juice
1/4 cup sherry or chicken broth
1/4 cup honey
2 tbsps Sriracha
1 piece ginger root, grated and crushed
4 green onions, chopped
1/4 tsp dry mustard
Mix all ingredients in bowl, stirring until brown sugar, honey and dry mustard are dissolved. Set aside about 1 cup of marinade and pour the remaining over the chicken in a large plastic bag, seal bag tight and refrigerate at least 4-8 hours or overnight.
When ready to cook, brush your grill grates with cooking oil, and once the grill is pre-heated, cook the chicken until the juices are clear, turning and basting frequently with the marinade you set aside.

Speaking of beer, you would think I would suggest something like Kona Longboard or a Coconut Stout to go with the Huli huli wings. Actually, a great pairing was the Sunseeker Pils, a light bodied pilsner brewed by Green Man Brewery, located in one of the coolest towns east of the Mississippi, Asheville NC. Sunseeker was the perfect beer to evoke thoughts of sunshine along with the island fare!

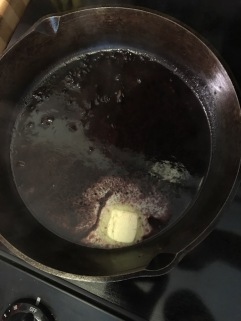
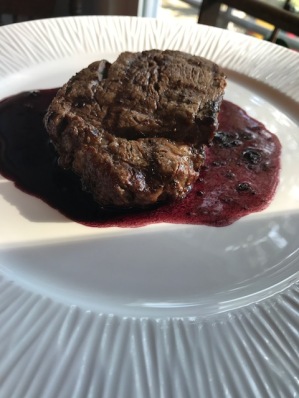 went the “turf” route of “surf n turf” and chose the filet medallions with red wine reduction. Served with mashed potatoes, she said it was the best steak she ever had and didn’t stop raving about her dinner, even when we were back home in Tennessee.


 was SNOWING. Yes, white stuff falling from the sky Saturday morning in the middle of March in Tennessee! It was 75 degrees two days ago and I had planned to mow the lawn over the weekend but we woke up to our tulips peeking out from under a blanket of slushy snow and the daffodils that came out early having seconds thoughts.
 Sunday is Souper Sunday at church so what better dish to prepare on these cold, blustery days than Chicken Noodle Soup! Ahh, the savory aroma of tarragon- and thyme-spiced chicken broth boiling on the stove, then adding the veggies and thick noodles as the anticipation of enjoying a big steaming bowl of wonderfulness builds up…Chicken Noodle Soup! Sit by the roaring fireplace and watch outside as the Winter Wonderland returns during springtime.
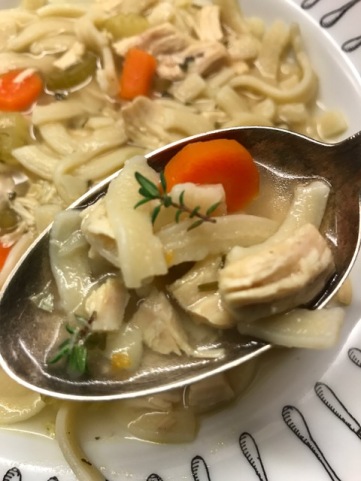

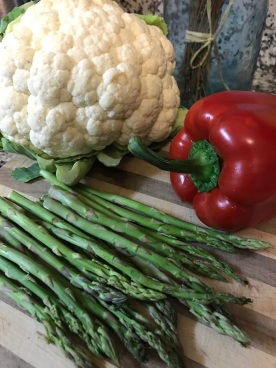
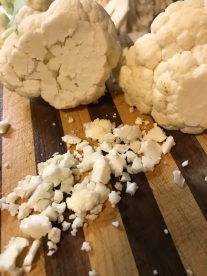
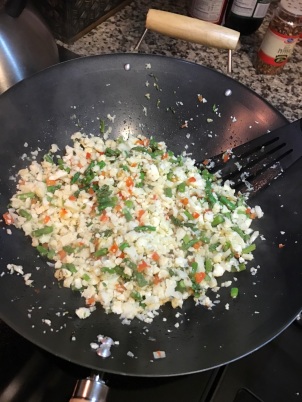
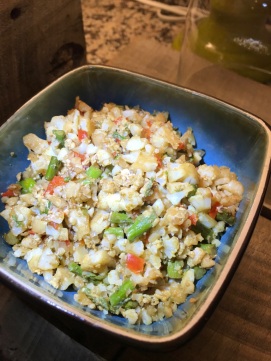 Heat olive oil (sesame oil can be substituted) over medium heat in large skillet or wok. Add garlic and onion and cook over low/medium heat until onion is tender. Increase heat slightly and add red pepper and asparagus, stirring constantly. Lastly, add cauliflower and cook an additional 3-4 minutes or until vegetables are tender. Season with teriyaki and/or soy sauce.


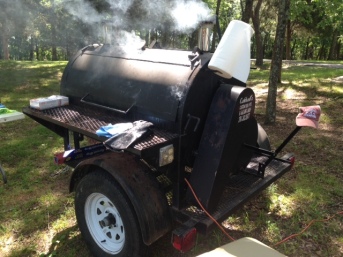
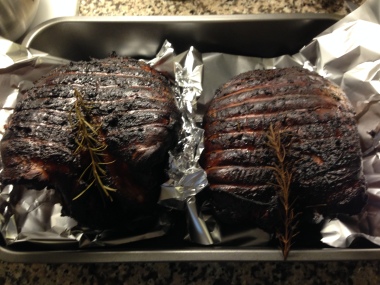
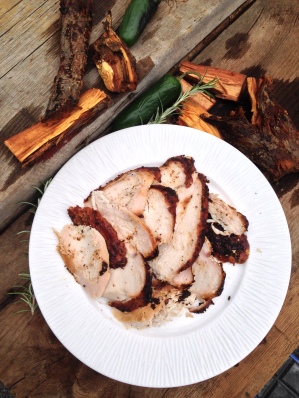
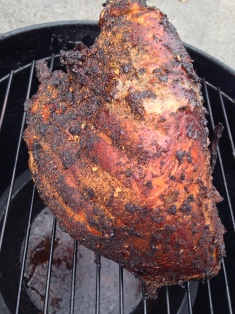
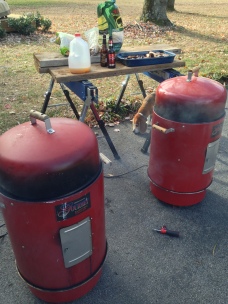 So what has become a family tradition is the smoking of the turkey on Thanksgiving Eve and this year was no exception. Today our smoker contained not one, not two, but THREE smoked turkey breasts! We smoked a Hot Turkey in the Nashville tradition, following the “Hot Chicken bandwagon” brined in hot sauce and rubbed with hot spices, as well as two traditional versions, brined in apple cider and sage and rubbed with various spices. (Please see my blog “Hot Turkey Brine and Sage and Apple Turkey Brine” for the brining instructions.)
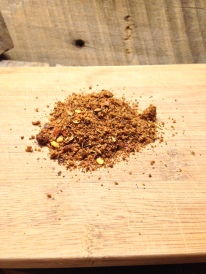

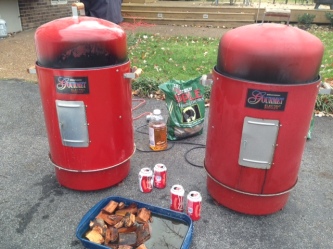 day avoiding most pre-Thanksgiving chores by breaking out the smoker and announcing “Honey, I really wish I could help you get the house ready for all the family and friends descending on us for Thanksgiving but I am going to be way too busy smoking a turkey and it will probably take my undivided attention…yes, for the entire day…no, really…all..day…long”
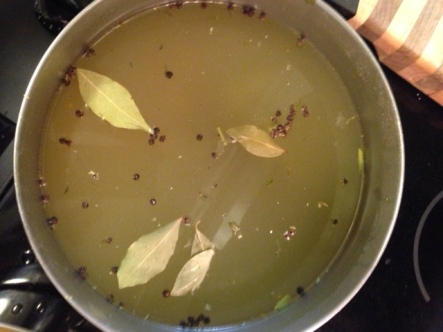
 been enjoying. It’s been well-documented (at least on this blog) that I favor brown ales, porters and stouts. This particular brown ale has been around for several years and is a must-have: Truck Stop Honey Brown Ale brewed by
